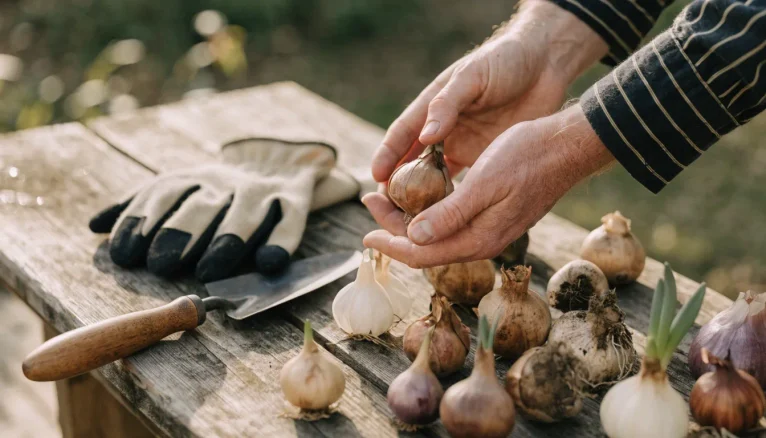
How to Prepare Your Vegetable Garden for Winter
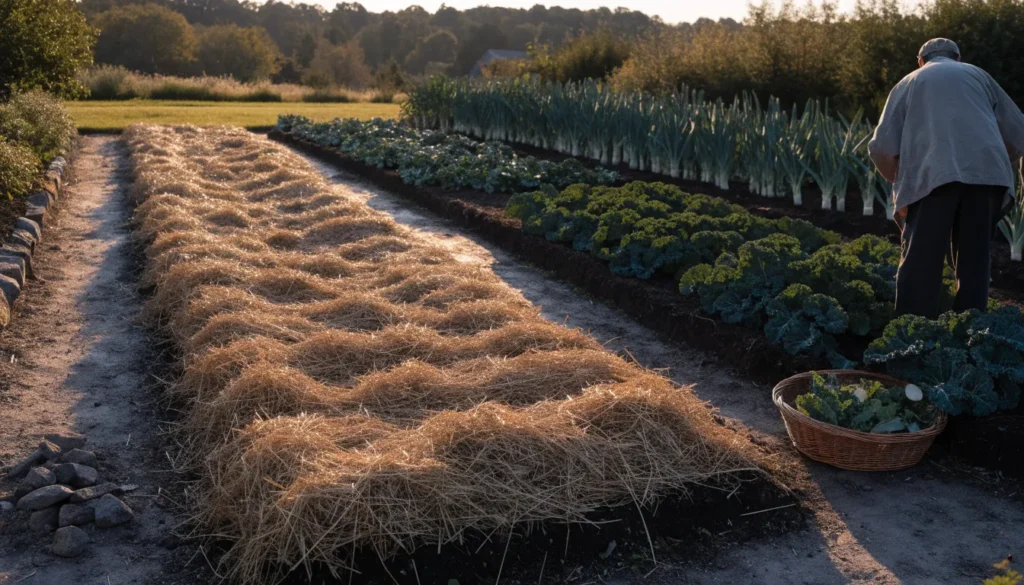
October is the month my vegetable garden changes jobs. All summer it fed us. Now its job is to rest well, so it can feed us again next year. That is what it means to prepare vegetable garden for winter: not one big clean-up day, but a short series of jobs done in the right order, before the ground freezes.
I used to leave it all until the first hard frost, and then I spent spring fighting weeds, replacing cracked hoses, and wondering why the soil felt dead. Now I work through this list over two or three weekends in fall, and spring starts weeks earlier. If you have never tried to prepare vegetable garden for winter before, this list is the place to start, it is how you put the garden to bed properly instead of just walking away from it. This guide shows you how to prepare vegetable garden for winter in 11 steps, from the final harvest to the spring plan. It covers the jobs most short guides skip, soil testing, tool care, irrigation, and spring bed planning, so nothing important waits until April.
One note before we start: dates in this article are relative, not fixed. Your first frost date, your soil, and your winters are local. I will flag every step where your zone changes the answer, and you should check your local frost date and extension service before you act on it.
Table of Contents
When to Prepare Vegetable Garden for Winter
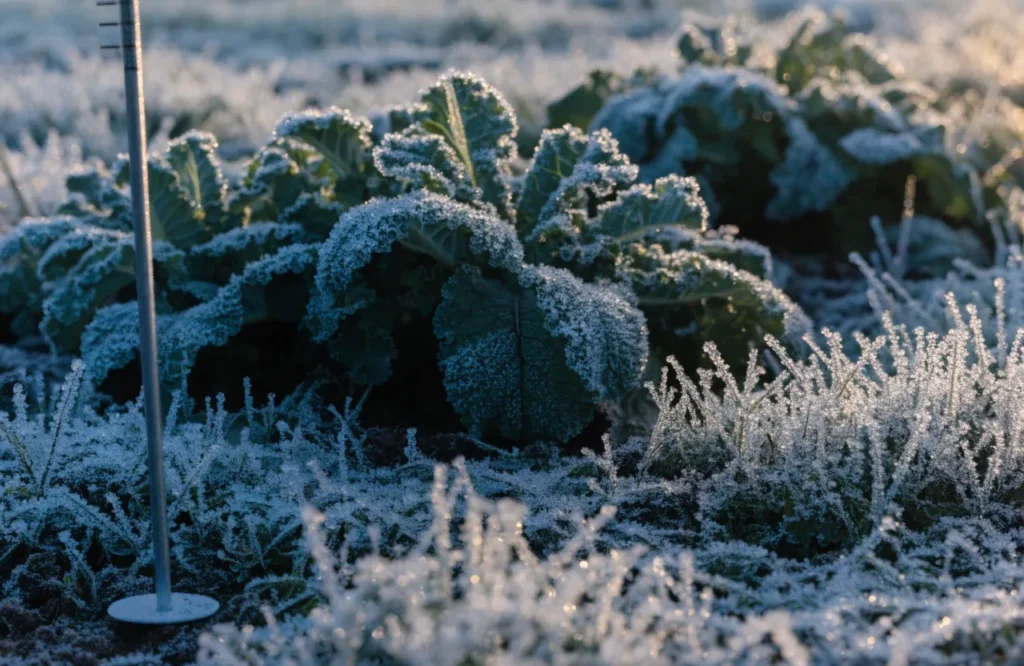
Start when your nights cool down and your summer crops slow, not on a calendar date. A good rule is to begin about four to six weeks before your average first frost, and to finish the freeze-sensitive jobs, hoses, irrigation, tender harvests, before the first hard freeze is forecast. A light frost (around 29–32°F) only kills tender crops; the ground usually stays workable for a while afterwards. A hard freeze (mid-20s°F and below for several hours) is the real deadline.
If you live somewhere with mild winters, your window is longer and some of these jobs shift: you may still be harvesting into December, and cover crops can go in later. If you live somewhere with early, hard winters, start sooner and treat the first frost warning as your deadline. Either way, the week you prepare vegetable garden for winter matters less than doing the jobs in the right order.
Expert tip: Put your average first frost date on the calendar now, then work backward. Garlic, cover crops, and soil testing all have windows measured from that date, and they are easy to miss if you only watch the weather forecast.
1. Final Harvest: The First Step to Prepare Vegetable Garden for Winter
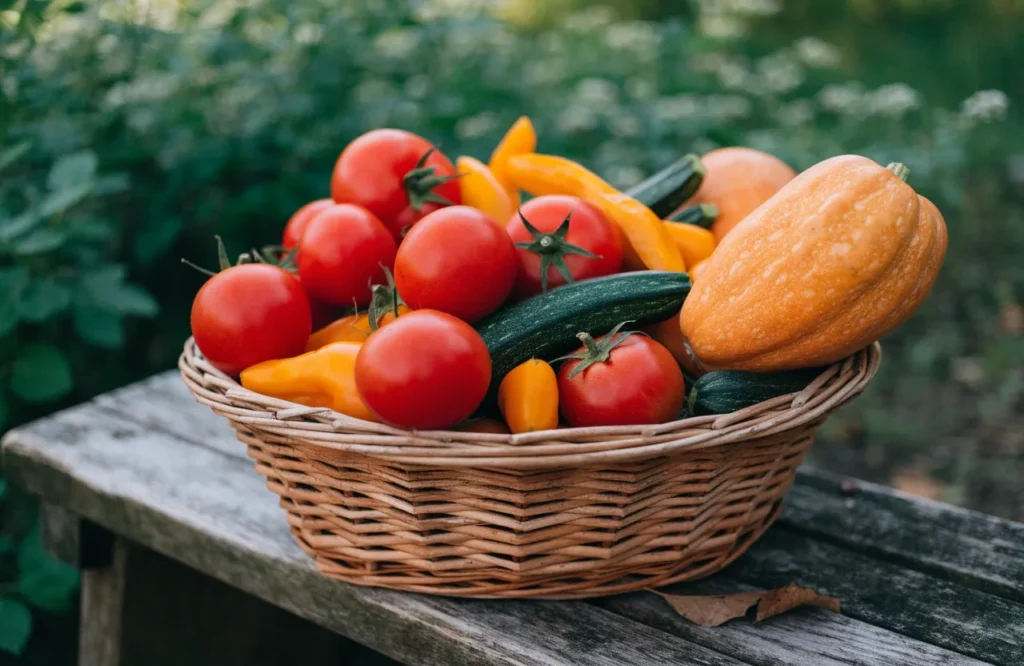
Walk every bed with a basket before you pull anything. Harvest in two groups: what frost will kill, and what frost will improve.
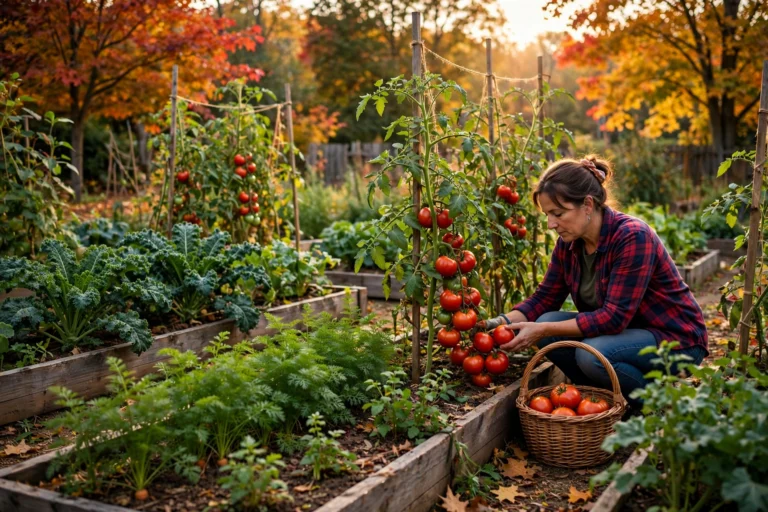
Pick before frost: tomatoes, peppers, beans, cucumbers, squash, zucchini, eggplant, basil, and any tender herb. A light frost turns these to mush overnight, so do not gamble on one more warm day. Green tomatoes can ripen indoors in a paper bag with a banana, and peppers keep well in the fridge for a week or two. If you are unsure whether a tomato is ready, my guide on when to harvest tomatoes covers the signs, and why tomatoes stop ripening explains what cold does to fruit still on the vine.
Leave in the ground: kale, spinach, carrots, parsnips, leeks, Brussels sprouts, collards, and turnips all tolerate frost, and several taste sweeter after it, cold pushes these plants to store more sugars. Root crops can stay in the soil after frost, but dig them before the ground actually freezes solid. Mark the rows with tall stakes now; finding a carrot row under snow in January is a different job entirely.
Store what you pick properly. Cure onions, garlic, potatoes, and winter squash in a dry, airy spot out of direct sun before storing them, and check stored crops every couple of weeks for anything going soft. One rotting potato can spoil a whole box.
Expert tip: Do not strip a bed bare just because it looks tidy. If a crop is still producing and your frosts are still light, let it produce. The last harvests of fall are often the sweetest ones of the year.
2. Remove Diseased Plants, and Keep Them Out of the Compost
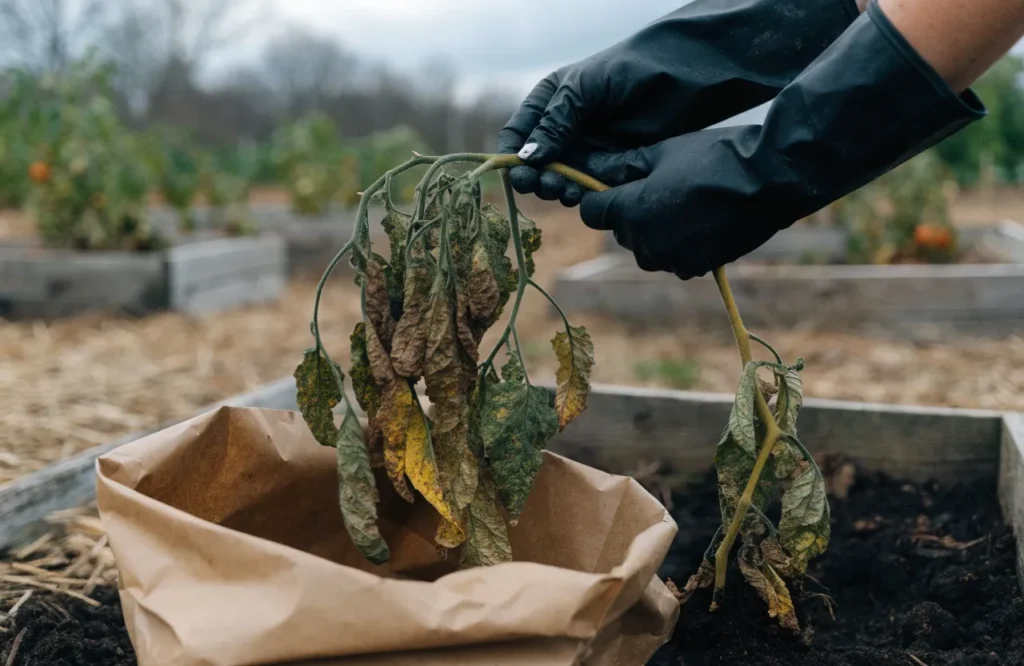
Once the tender crops are picked, pull the plants that are finished. Start with anything diseased, pest-ridden, or rotting: tomato vines with blight, squash vines with mildew, bean plants covered in rust, and any fallen, rotting fruit. This is the single most important disease-control job of the year, because many pathogens and pests overwinter on dead plant material and reinfect next year’s planting.
Here is the rule I never break: diseased material does not go in the compost. A home compost pile rarely gets hot enough, for long enough, to kill plant pathogens. Bag diseased plants and put them in the trash, or burn them if your area allows it. Healthy plant material is different, chop it and compost it, or lay it on the bed as mulch. For help telling the difference, see my guides on common tomato plant diseases and blossom end rot causes and prevention.
Pull weeds at the same time, especially any with mature seed heads. One weed gone to seed in October is dozens of weeds in April. Removing diseased plants is the step most people skip when they prepare vegetable garden for winter, and it is the one that costs the most the following spring, so do it before the rest of your fall garden cleanup, not after. Dig out perennial weeds with as much root as you can while the soil is still workable.
One thing I deliberately do not do: scorched-earth cleanup. Healthy flower stems and seed heads elsewhere in the garden stay standing, they shelter beneficial insects and feed birds through winter. The vegetable beds get the strict cleanup because the same ground has to grow food again next year. If you want the full list of what not to do this season, my fall gardening mistakes guide covers the common traps.
3. Mulch: Depths, Materials, and Timing
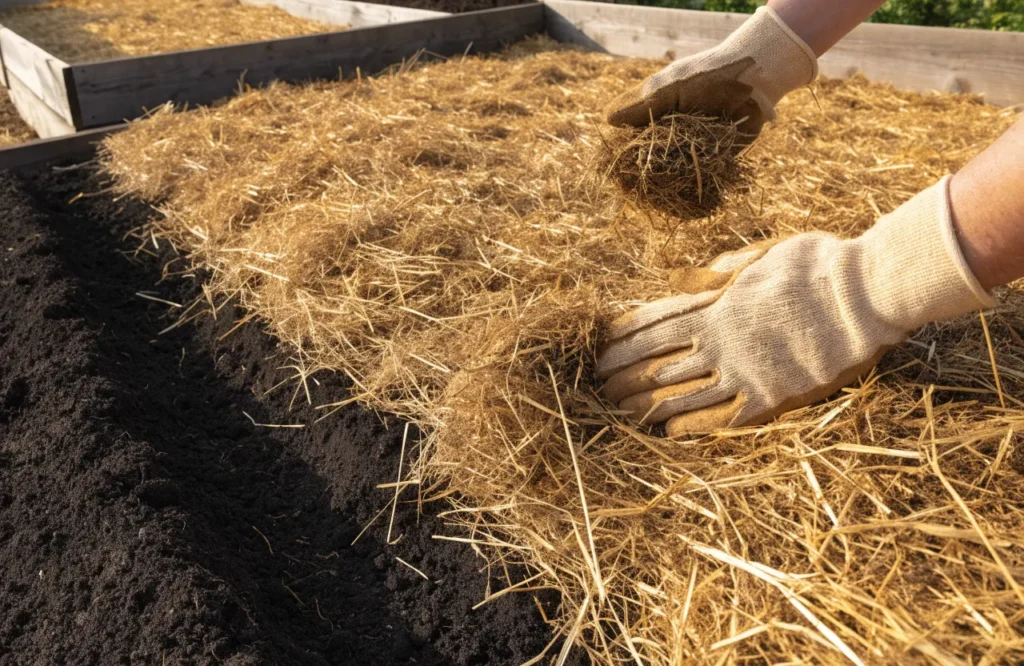
Bare soil is the enemy of a winter garden. Rain pounds it, wind dries it, freeze-and-thaw cycles break its structure, and weeds move in. When you prepare vegetable garden for winter, covering the soil is non-negotiable, the only question is what you cover it with.
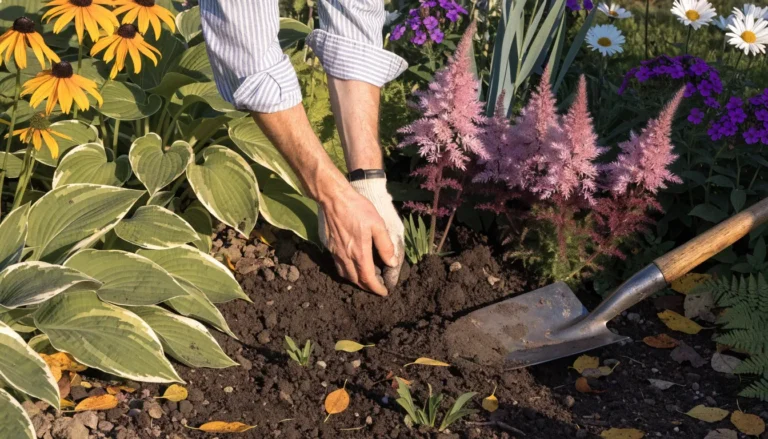
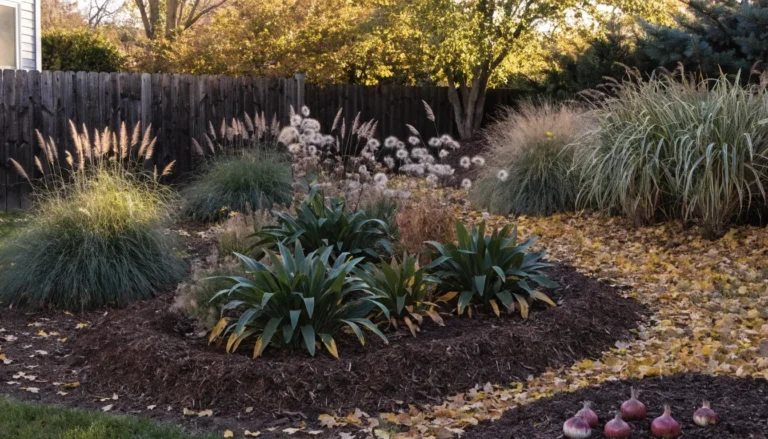
How deep? For empty vegetable beds, spread 3 to 4 inches of mulch after cleanup. For crops staying in the ground (carrots, parsnips, leeks), go thicker, 6 to 8 inches of straw or shredded leaves over the row, so you can still dig them in cold weather. Keep mulch a few inches away from the crowns of any perennial plants so trapped moisture does not rot them.
When? In mild climates, mulch right after cleanup. In cold climates, wait until the soil has begun to freeze before piling on the thickest winter mulch over perennials, mulching too early can keep the soil warm and delay dormancy. For empty vegetable beds, mulching at cleanup time is fine in most climates.
Mulch materials compared
| Material | Cost | Insulation | Best use | Watch out for |
|---|---|---|---|---|
| Straw (clean, seed-free) | Low–medium | Very good | Empty beds, root crops in the ground | Must be seed-free, or you plant weeds |
| Shredded leaves | Free | Good | Empty beds, general winter cover | Shred first — whole leaves mat into a soggy layer |
| Finished compost | Medium | Moderate | Beds that also need feeding | Breaks down fastest; top up in spring |
| Wood chips | Low–medium | Good | Paths and around perennials, not dug-in beds | Keep off young stems; slow to break down |
| Grass clippings (untreated) | Free | Moderate | Thin layers on beds | Use thin layers only, or they mat and smell |
Expert tip: Shredded leaves are my default winter mulch because they are free and they are already falling on the garden. Run the mower over them once, spread 3 to 4 inches, and you have both insulation and next spring’s organic matter in one job.
If you are starting from the beginning of fall rather than the end of it, my how to prepare your garden for fall checklist pairs well with this guide.
4. Test Your Soil in Fall, Not Spring
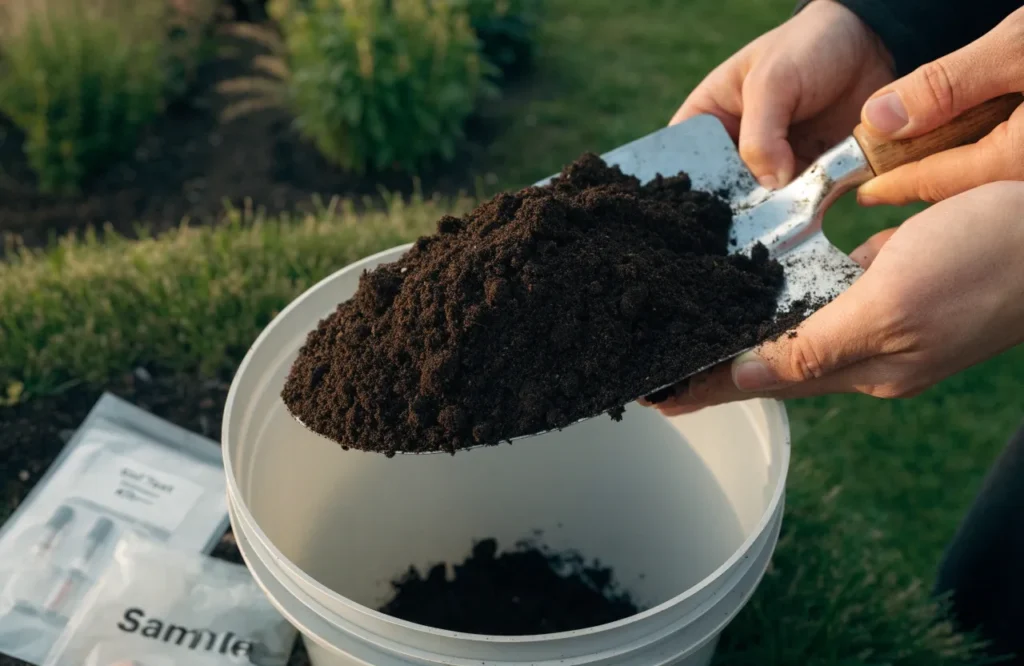
Fall is the best time to test your soil, and most gardeners skip it. A test tells you pH, organic matter, and the major nutrients, plus what to add, and, just as important, what not to add. If you have been adding compost, manure, or fertilizer every year without testing, you may already have plenty of some nutrients and be short of others.
How to take a sample: For each bed, take 6 to 10 small samples from about 6 inches deep, avoiding the edges and any spot where you recently dumped fertilizer. Mix them in a clean plastic bucket, remove stones and roots, and send about a cup to your local extension service or a soil lab. Lab tests are usually inexpensive, and results typically arrive within a couple of weeks. Retest every two to three years, or every year if you are actively correcting a problem.
What the results change: The big one is lime. Lime raises pH, but it works slowly, it takes months to change soil pH, which is exactly why fall is the time to apply it. A soil test is the cheapest insurance you can buy when you prepare vegetable garden for winter: it stops you from guessing and protects your long-term soil health at the same time. By spring planting, it has had a chance to work. Most vegetables prefer a pH around 6.0 to 6.8, but do not add lime unless your report recommends it: excess lime can lock up other nutrients. If your report shows low organic matter, that is your signal to add compost now (see section 8) rather than waiting for spring.
For the full picture on what good vegetable soil looks like, see best soil for tomatoes and best fertilizer for tomatoes, the principles apply well beyond tomatoes.
5. Cover Crops: Living Mulch for Empty Beds
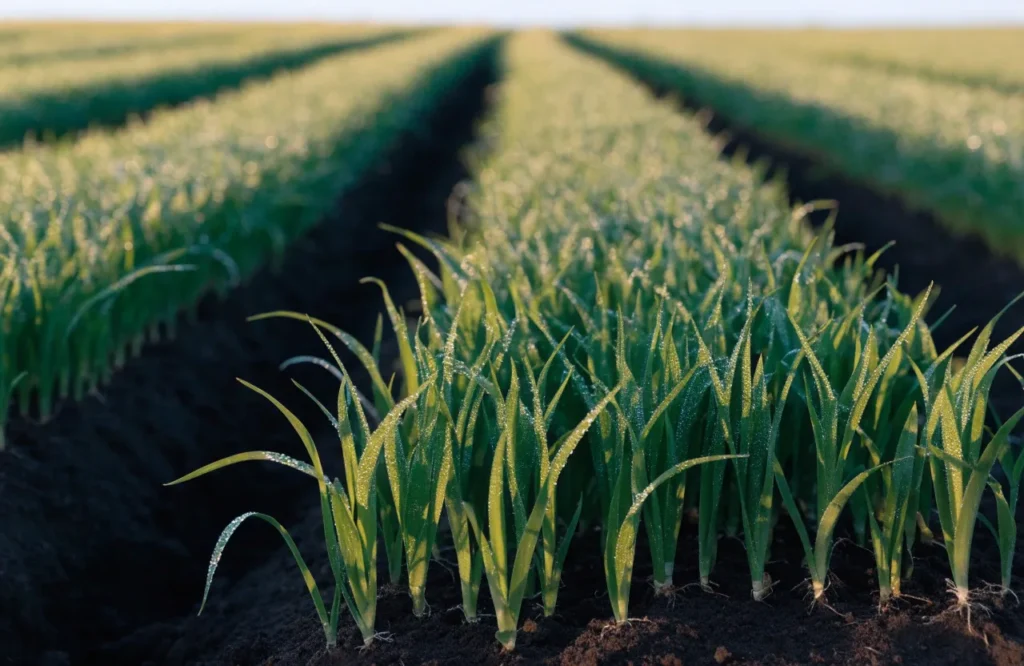
If a bed will sit empty all winter, a cover crop beats bare mulch: it holds the soil with living roots, suppresses weeds, feeds soil life, and adds organic matter when you cut it down in spring. This practice is called cover cropping, and it is one of the highest-return jobs in fall garden cleanup.
Timing is everything. A cover crop needs roughly four weeks of growth before sustained cold weather, so sow as early as your beds free up. In warm climates the window runs into November; in cold climates, late-summer sowings do best. If your window has already passed, do not force it, mulch the bed instead (section 3) and plan earlier sowing next year.
How to sow: Scatter seed evenly over the raked bed, rake it in lightly, and water if rain is scarce. In spring, cut the cover crop down two to three weeks before you plant vegetables, and leave the residue on the surface or dig it in lightly.
Cover crops compared
| Cover crop | Sow window (general) | Main benefit | Spring handling |
|---|---|---|---|
| Winter rye | Latest of all — into late fall in many climates | Toughest, deepest roots; excellent weed suppression | Cut before it gets tall; allow a few weeks before sowing small seeds |
| Crimson clover | Late summer to early fall | Fixes nitrogen; beautiful spring flowers for pollinators | Cut at about half bloom, wait 2–3 weeks before planting |
| Hairy vetch | Early to mid fall | Fixes nitrogen; dense ground cover | Cut before it sets seed |
| Oats | Late summer to early fall | Fast cover; winter-kills in cold climates, leaving easy residue | Residue is usually easy to plant into in spring |
| Field peas | Late summer to early fall | Fixes nitrogen; fast growth | Cut down a few weeks before spring planting |
Expert tip: If you only plant one cover crop, make it winter rye, it germinates in cool soil, survives hard winters, and holds a bed together through the worst weather. If you only have one free weekend to prepare vegetable garden for winter, spend it on cover crops and mulch: nothing else protects soil health through winter as cheaply.
A note on zone dependence: exact sowing dates for cover crops vary widely by region, check your local extension’s fall planting dates rather than copying a date from another climate.
6. Plant Garlic Now for a Summer Harvest
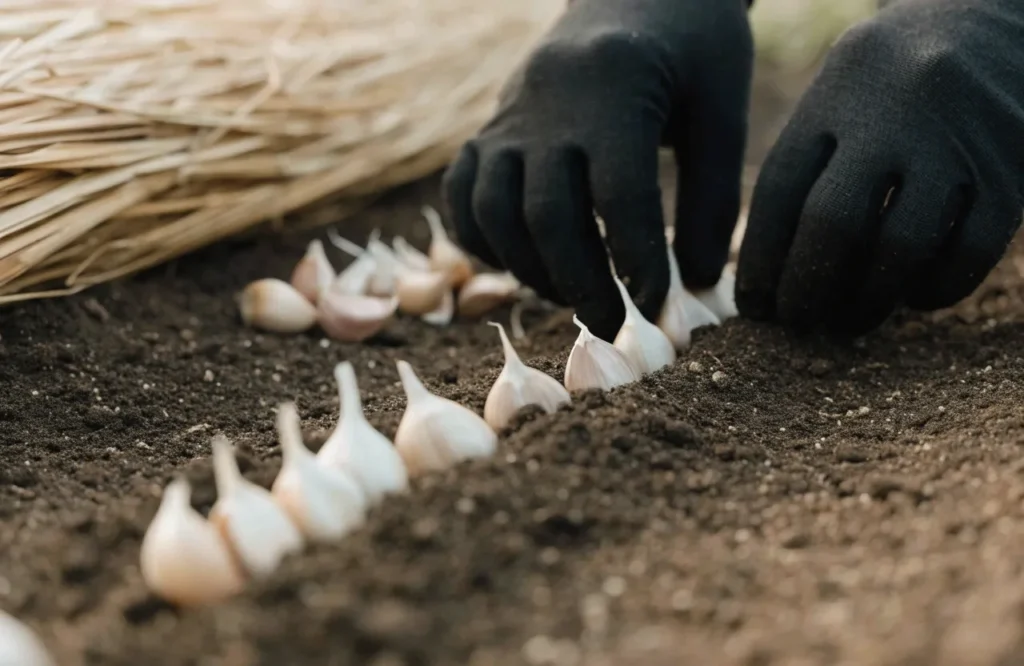
Garlic is the easiest win in the winter garden: you plant it in fall, ignore it all winter, and harvest in summer. It needs cold to split into cloves, so fall planting is not optional, spring-planted garlic usually grows into one round bulb instead of a head.
When: Plant about four to six weeks before the ground freezes, so cloves grow roots but do not sprout much top growth before winter. That window falls in October or November in most cold-winter climates and later in mild ones, again, work from your local frost date, not a date you read for another region.
How: Break bulbs into cloves the day you plant (do not peel them). Plant each clove pointed end up, 2 to 3 inches deep, 4 to 6 inches apart, in a bed with good drainage. Water once, then mulch the bed with 3 to 4 inches of straw. That is it until spring, when green shoots appear and you can pull the mulch back.
Which type: Softneck garlic suits mild winters and stores longest; hardneck garlic suits cold winters and produces scapes in spring. If you are unsure, plant a few of each and note which performs better in your soil. Garlic is the crop I plant first whenever I prepare vegetable garden for winter, because it is the one planting that cannot wait until spring. Shallots follow the same timing and depth, and they store even better than garlic.
If you are planning your fall planting more broadly, what to plant in September covers the full fall planting window, and fall gardening mistakes lists the timing errors that cost gardeners their garlic crop.
7. Winter Crops: What Keeps Growing Through the Cold
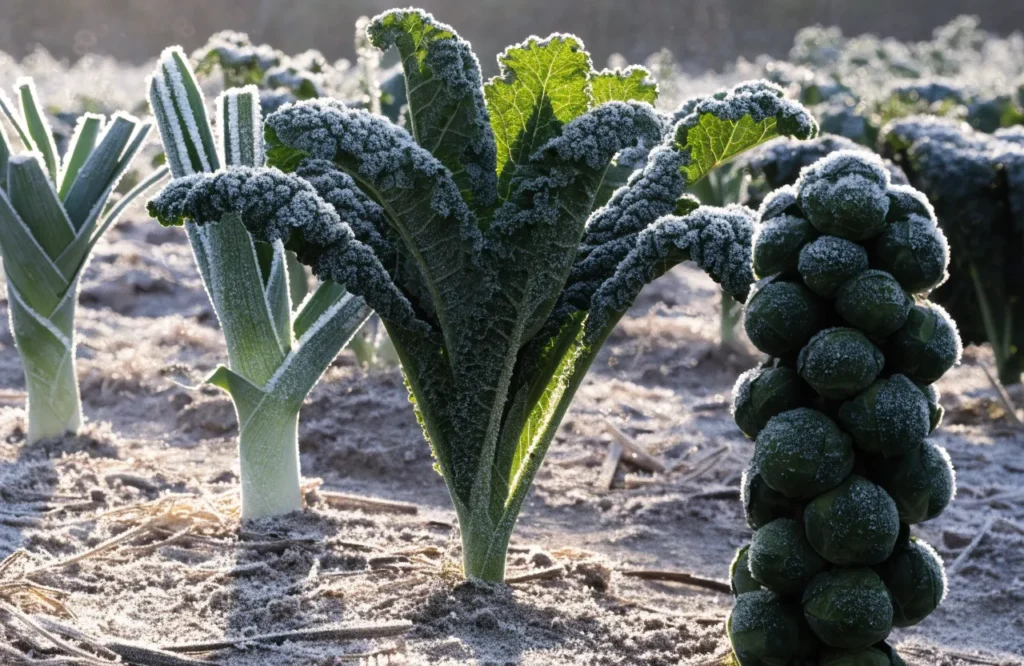
A winter garden is not just a garden waiting for spring, it can still feed you. Overwintering vegetables fall into three groups, and knowing which group a crop belongs to stops you from harvesting too early or protecting too late.
Hardy crops tolerate hard frosts (roughly 25–28°F) and keep going: kale, collards, Brussels sprouts, leeks, parsnips, and spinach in many climates. Kale and collards often taste sweeter after frost.
Semi-hardy crops tolerate light frosts (roughly 29–32°F) but need help in real cold: lettuce, chard, arugula, mustard greens, and Asian greens. A simple row cover, cold frame, or cloche can buy them several extra weeks, cover before sunset so the cover traps the day’s soil warmth.
Roots in the ground — carrots, beets, and turnips, can stay where they are under a thick mulch layer and be dug as needed, as long as the ground is not frozen solid. In very cold climates, dig them before the deep freeze and store them in damp sand in a cool place instead.
Water winter crops less than summer crops: cold soil holds moisture for weeks, and watering on a schedule in cold weather is how roots rot. Check the soil a couple of inches down before you water. In containers, the same crops need more protection, because pots freeze faster than beds, see fall container gardening for container-specific advice, and plants to bring indoors before frost for anything tender that must come inside.
Expert tip: Row cover is the cheapest season-extender you can buy, and the simplest form of frost protection most gardeners own. One length of frost cloth, draped over hoops or even laid directly on the crop, routinely adds weeks to lettuce, chard, and Asian greens, and it costs less than a single bag of potting mix. Knowing which crops survive is what lets you prepare vegetable garden for winter without harvesting everything at once.
8. Fall Composting: Feed the Pile Before It Slows Down
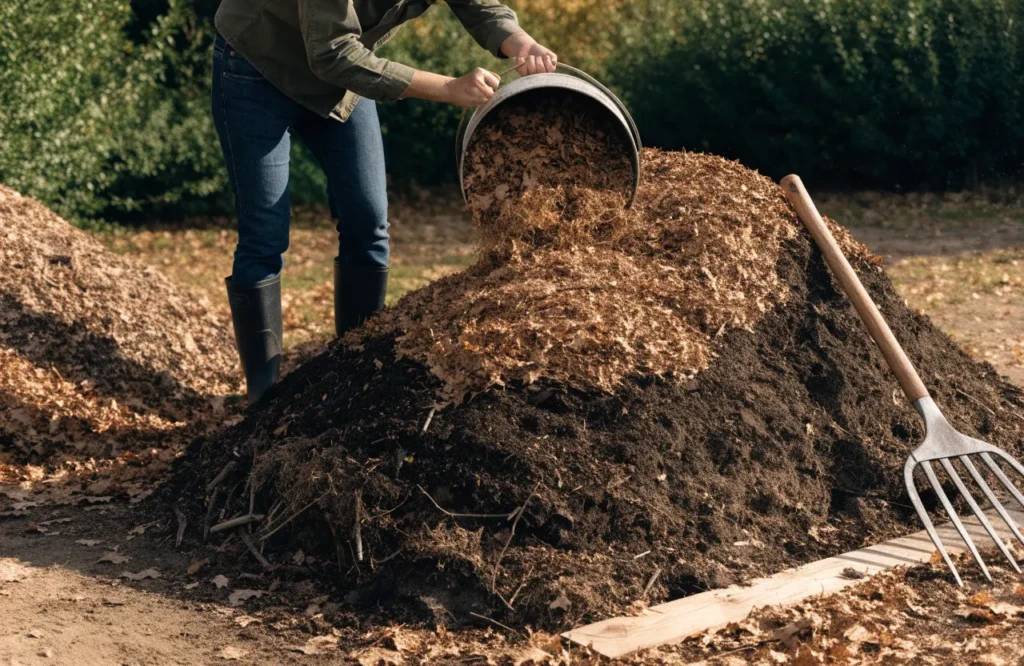
Fall gives you more compost material than any other season, and it is also the best time to add finished compost to your beds. Do both jobs now.
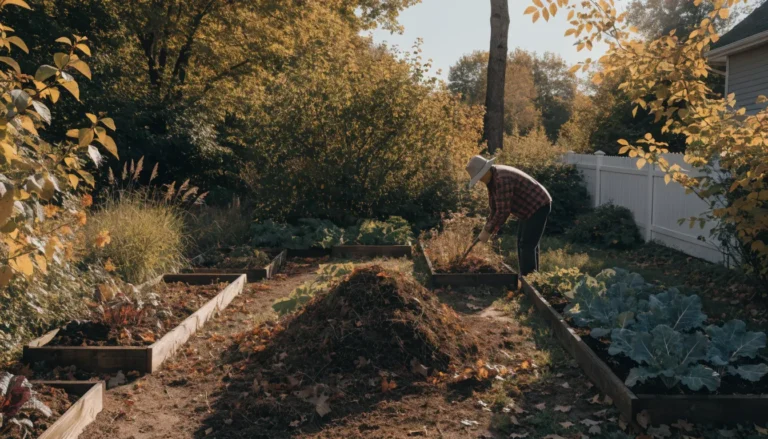
Add finished compost to empty beds. After cleanup, spread 1 to 2 inches of finished compost over empty beds. You can work it lightly into the top few inches or leave it on the surface, earthworms, weather, and soil organisms will pull it down over winter. This is how you prepare vegetable garden for winter soil: the compost has months to break down and feed soil life before spring planting, instead of sitting in a bag until April.
Feed the pile with fall material. Shredded leaves are the classic fall compost ingredient, they are high in carbon, which balances the nitrogen-rich kitchen scraps and green material. Finished compost is also the easiest amendment to add when you prepare vegetable garden for winter, because it feeds soil life for months before spring planting. Chop or shred leaves before adding them (whole leaves mat together and rot slowly), and mix in some green material so the pile stays active. Keep diseased plants out, as section 2 explains, and keep the pile damp but not soggy.
What about fresh manure? Aged manure is fine in fall; fresh manure should not go directly on vegetable beds close to harvest. If you use manure, compost it first or apply it well ahead of planting, and follow your local guidance on timing.
9. Clean, Sharpen, and Store Your Tools
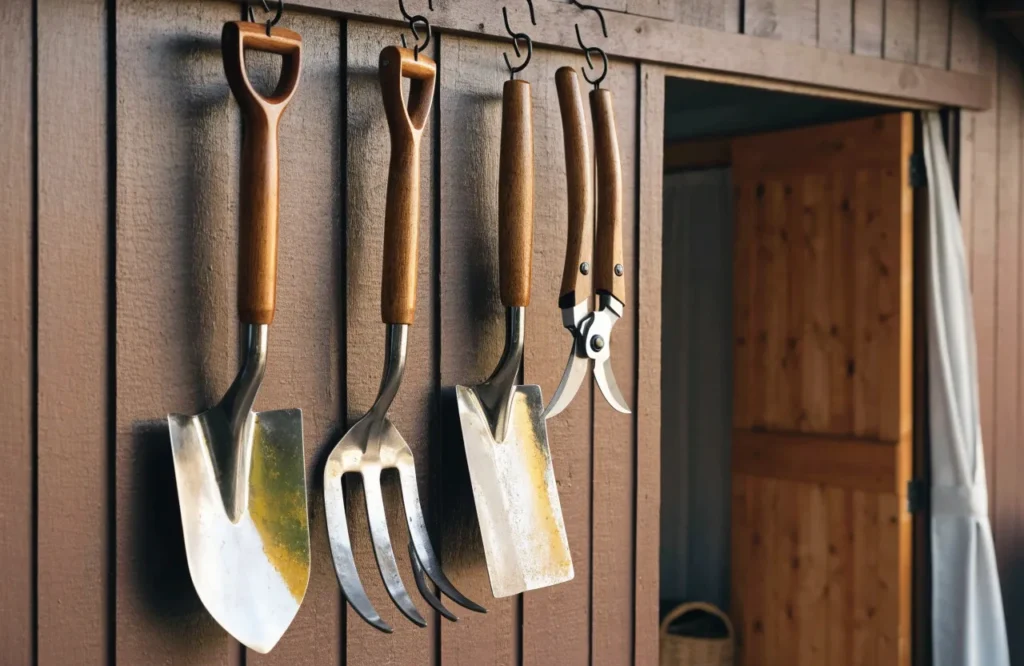
Tools are the most skipped job on this list, and the most regretted in spring. Clean tools are the part people forget when they prepare vegetable garden for winter, a dirty, dull spade in April is a chore; a clean, sharp one is a pleasure. Work through this order:
- Clean: Knock off soil, then wash with water and a stiff brush. Dry thoroughly, rust starts on damp metal left in a shed.
- Sharpen: File the edges of spades, hoes, and pruners. A sharp edge cuts cleaner, which is better for both you and the plant.
- Oil: Wipe a light coat of oil on metal surfaces to prevent rust, and rub wooden handles with linseed oil so they do not crack and splinter.
- Store: Hang tools off the ground in a dry shed or garage, with blades covered. If you need storage inspiration, cottage garden shed ideas has layouts that keep tools dry and reachable.
Drain and clean anything with a motor according to its manual, and coil hoses without kinks. Label anything you repaired so spring-you knows what is ready and what still needs a part.
10. Protect Irrigation Before the First Hard Freeze
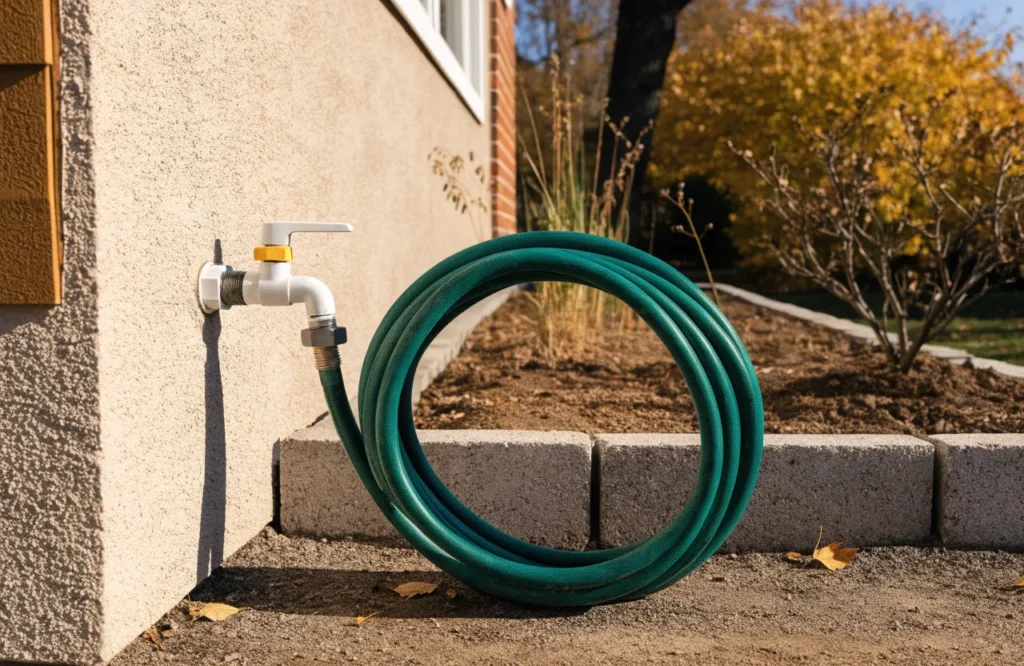
Water left in a hose, drip line, or timer will freeze, expand, and crack it. This is the job with the hardest deadline on the whole list, because it must be done before the first hard freeze, not after. When you winterize vegetable garden irrigation, do the hoses first, they are the most exposed and the easiest to forget, and remember that irrigation is the job with the hardest deadline when you prepare vegetable garden for winter.
Hoses: Disconnect every hose from its tap, drain it completely (stretch it downhill or coil it from one end), and store it coiled in a shed. Shut off outdoor taps from the inside valve if your house has one, and leave the outside tap open so any remaining water can drain.
Drip lines and timers: Drain drip lines, remove timers and controllers, and store batteries and electronics indoors. If you have buried drip lines, find them before you dig anywhere in the bed, mark their runs with small stakes so a fork does not cut them during fall cleanup. If your system is large or buried, a professional blow-out with compressed air is worth considering before freeze-up.
Containers and pots: Empty pots that will not overwinter plants, tip them so they do not collect water, and stack them under cover. A pot full of wet soil that freezes can crack, and it is much heavier to move in spring.
11. Plan Spring Beds While This Season Is Fresh
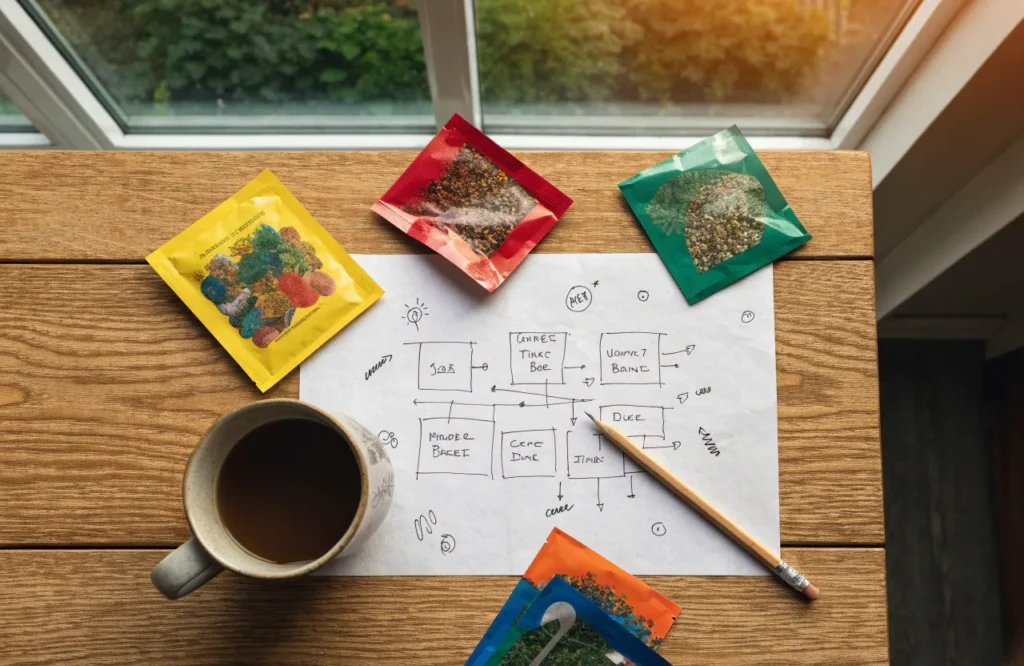
The last job is the one that pays off most in spring: planning. Do it now, while you still remember what worked and what did not.
Rotate your crops. Do not plant the same family in the same bed two years running. Tomatoes, peppers, eggplant, and potatoes are one family; beans and peas are another; brassicas (cabbage, kale, broccoli) are a third; onions and garlic are a fourth. Rotation breaks pest and disease cycles that build up in the soil. Sketch a simple map of this year’s beds, note what grew where, and shift each family one bed over for next year.
Note what to change. Write down three things: the variety that outperformed everything else (grow more of it), the crop that struggled (move it, feed it differently, or drop it), and the bed that stayed wet, dry, or weedy (fix its drainage or mulch). A spring plan is what turns a winter shutdown into a head start when you prepare vegetable garden for winter — these notes are worth more than any seed catalogue in January.
Order seeds early. The best varieties sell out. Order in late fall or early winter, once your rotation map tells you what you need. For bed layout ideas, courtyard vegetable garden ideas is useful even for larger gardens, and best tomato companion plants helps you plan which crops share a bed well. If you also grow spring bulbs, how to plant spring bulbs covers depth, spacing, and timing while the ground is still workable.
Your Weekend Checklist to Prepare Vegetable Garden for Winter
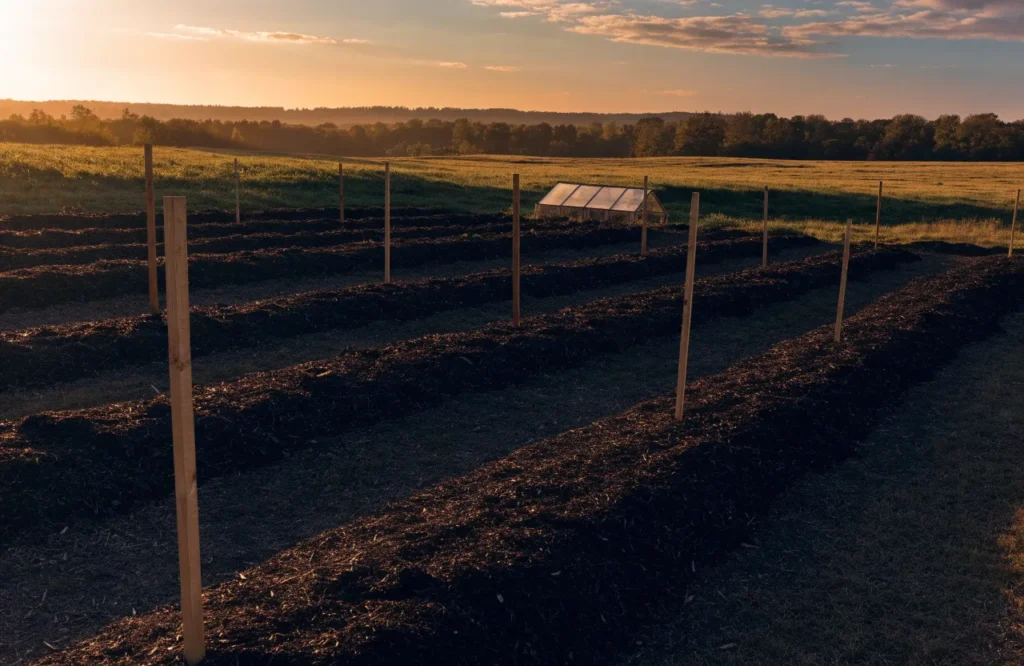
If you only have two weekends, do it in this order:
Weekend one — harvest and clear: Final harvest (tender crops in, hardy crops marked) → pull diseased plants and weeds → soil test samples posted → garlic planted and mulched.
Weekend two — feed and protect: Finished compost on empty beds → mulch or cover crop on every bare bed → tools cleaned, sharpened, and stored → hoses and irrigation drained → spring rotation map sketched and seeds ordered.
Tick each job off as you go. A garden that goes into winter protected, fed, and mapped is a garden that starts spring weeks ahead.
FAQs: Prepare Vegetable Garden for Winter
Winter is not the end of the gardening year, it is the part of the year when the garden rebuilds itself, quietly, under mulch and cover crops. Do these eleven jobs in fall, and when spring comes you will not be starting over. You will be picking up where a healthy garden left off.